FabFilter Twin 3 Review
- February 7, 2023
- by Steve Castellano
- Product Intelligence Report

I’ve looked at a few FabFilter plugins here in the past and have been quite impressed with their sound quality and consistently excellent user interfaces. I was aware that their first product was a virtual synth, FabFilter One, and as a guy who was weaned on analogue synthesis, I’ve been looking forward to checking out their flagship synth plugin. The occasion of the release of Twin 3 presented the perfect opportunity – so let’s dive in.
The first thing you’ll notice on launch is that FabFilter interface style. It will be familiar to you if you’ve used their plugins in the past. FabFilter has come up with a very useful and pleasing aesthetic and run with it, and one of the primary benefits of this approach is that if you’ve used, say, their Volcano 3 filter plugin, you pretty much know your way around already, because the controls work in the same way. In fact a major part of the upgrade to Twin 3 was a complete update of the visual interface that brought it in line with their other plugins.
Analogue origins
The default patch is a good place to start. The designers made a conscious decision to give you a viable, playable patch as a default – in this case a 3-oscillator synth brass patch – rather than a standard nondescript INIT patch (though if the latter is your preference head for the “Clean” patch from the preset menu). There’s a plus sign under the third oscillator, and sure enough that’s how you’d add a fourth if you felt you needed one.
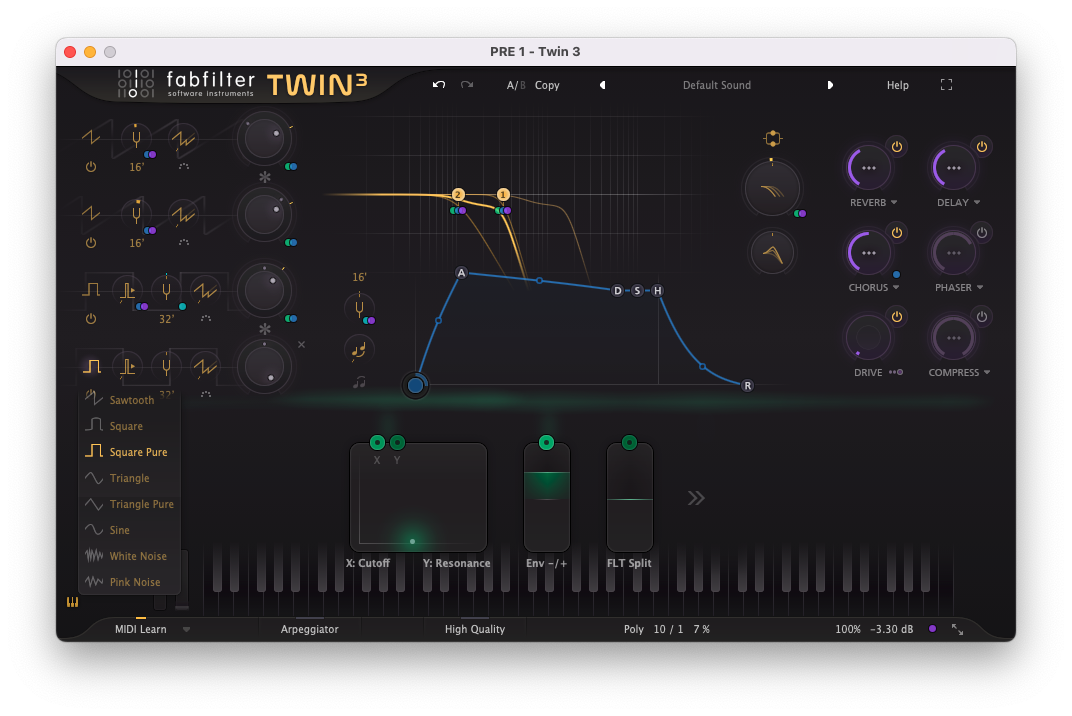
The available waveforms are of the time-honoured analogue variety, with a twist. You can choose from sawtooth, square (this also serves as your pulse waveform), triangle, sine and noise, but you also have “pure” versions of square and triangle if you prefer your waveforms digital and precise. You also have the option of white and pink noise. Detuning, sync and level are all standard, with pulse width and pulse width modulation available on square waves. You can detune each wave in increments of 1/1000 of a semitone up to 12 semitones up or down, in addition to five octave settings.
Each oscillator also has a pan setting, controlled manually by a concentric ring around the volume knob. This can help you get a nice spacious spread to a multi-oscillator pad, or allow you to add some motion by patching a modulation source to it.
Filter forward
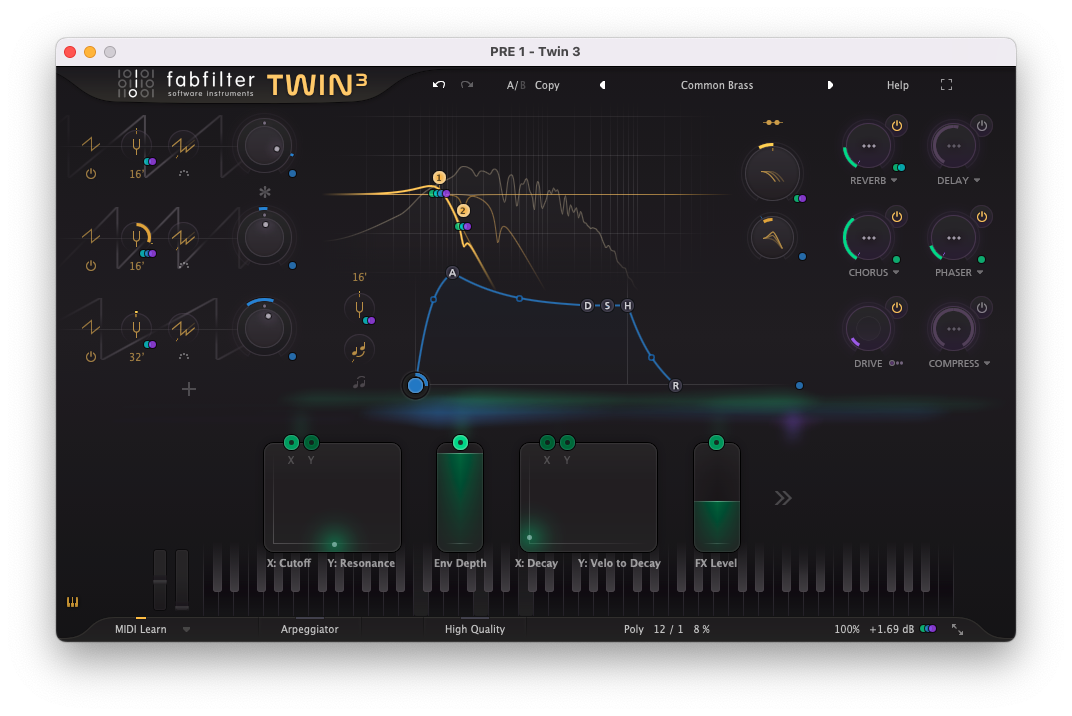
One of the consistent visual cues of FabFilter plugins is the real-time spectral analysis display in the centre of the interface. It’s something we’re more used to seeing in an EQ plugin, but of course it makes perfect sense for sound design. And while we have dedicated knobs for cut-off offset and peak (resonance), the filter curves overlaid on top of the spectral analyzer are your primary filter controls. Double-click the yellow line to create a filter instance, then drag the handle left and right to set frequency, up and down to set peak level.
Hover over the handle to get a floating palette with numeric readouts of these values, plus dropdown menus for filter shapes (low cut, high, band, bell, shelf and notch), slope (6, 12, 24 and 48 db), and style (here you have 11 to choose from, from smooth to hard, gentle to raw, metal, and two tube styles). You can add up to a total of four filters, and route them in serial, parallel, and per oscillator – where each of your oscillators gets its own filter. The aforementioned cutoff and peak offset dials are global, affecting all filters together.
The mystery amplifier
I puzzled for a few moments over where the amplifier section was, but it’s represented by the Main EG (envelope generator), which appears in blue in the centre of the display. Like all the envelope generators in Twin 3 it features Attack, Decay, Sustain, Hold (time to hold at sustain level) and Release controls. And much like the filter curves, this can be manipulated with a mouse or with numbers – although the most intuitive way to attack it (pun intended) is to click and drag, horizontally for time values, and vertically for sustain. You can even drag the curves themselves from concave to convex to simulate logarithmic, linear or exponential slopes. In addition to the Main EG, other modulation sources (which we’ll talk about next) can be assigned to the main output volume itself for global amplitude modulation like tremolo.
Let the modulation begin
The hideaway modulation section is familiar to me from Volcano 3: it’s a scrolling drawer where you can insert a variety of modulation and control sources, from additional envelope generators, an envelope follower, XY controller, and MIDI sources. These include FabFilter’s XLFO, which is part LFO, part sequencer – or perhaps it’s a looping 16-stage envelope generator? Each of its 16 stages has independent level (including a random option per stage) and glide controls, allowing for exceptionally wild and detailed waveforms.
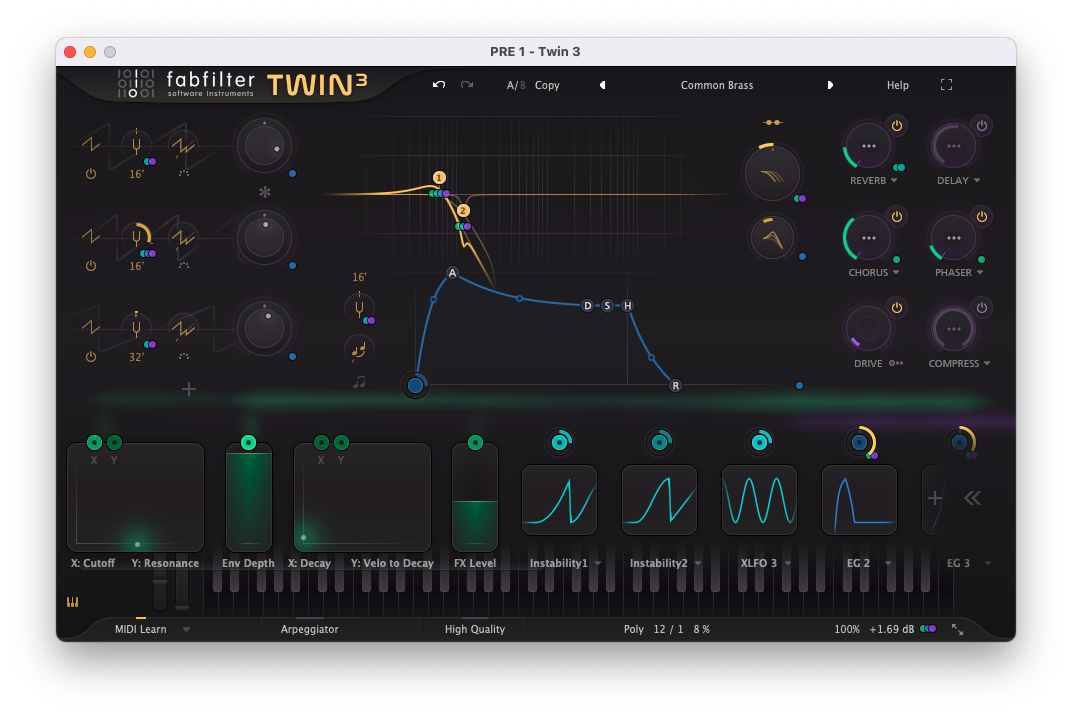
To patch a modulation source to a destination, simply click the dot above it and drag it to the component you’d like to modulate. A virtual patch cord will snap into place and a floating palette will appear at the destination, allowing you to fine-tune the modulation amount and polarity. Both sources and destinations will provide visual feedback to let you know what’s going on – a ghostly coloured fog over the modulation section indicates outgoing control, and rings around destination knobs will illuminate to indicate incoming activity. The resulting light show is both functional and elegant.
The full effects
To help you create a patch that is truly ready to print right from the output, Twin 3 includes six effects: reverb, chorus, drive, delay, phaser and compression. Most of their controls can of course be modulated by any source, and some reveal surprisingly well-appointed parameter palettes when clicked on. The delay unit, for example, has its own bank of four filters to sculpt the effect to your taste.
That analogue sound
Impressed though I am with the interface and modulation options, what we really came for is the sound. And the sound is well worth the trip. There’s potential for some truly astounding variety here, from squelchy acid leads to warm, undulating pads, and resonant, crystalline bells (courtesy of the ring mod option). Four oscillators and filters allow for some impressive layering options as well. And the factory presets include some classic electronic drum emulations that you may want to sample into your own custom kit. I was particularly impressed with the subsonic depth of the “Cinematic Boom” – I’m already thinking of ways to incorporate it into my next track.
Conclusions
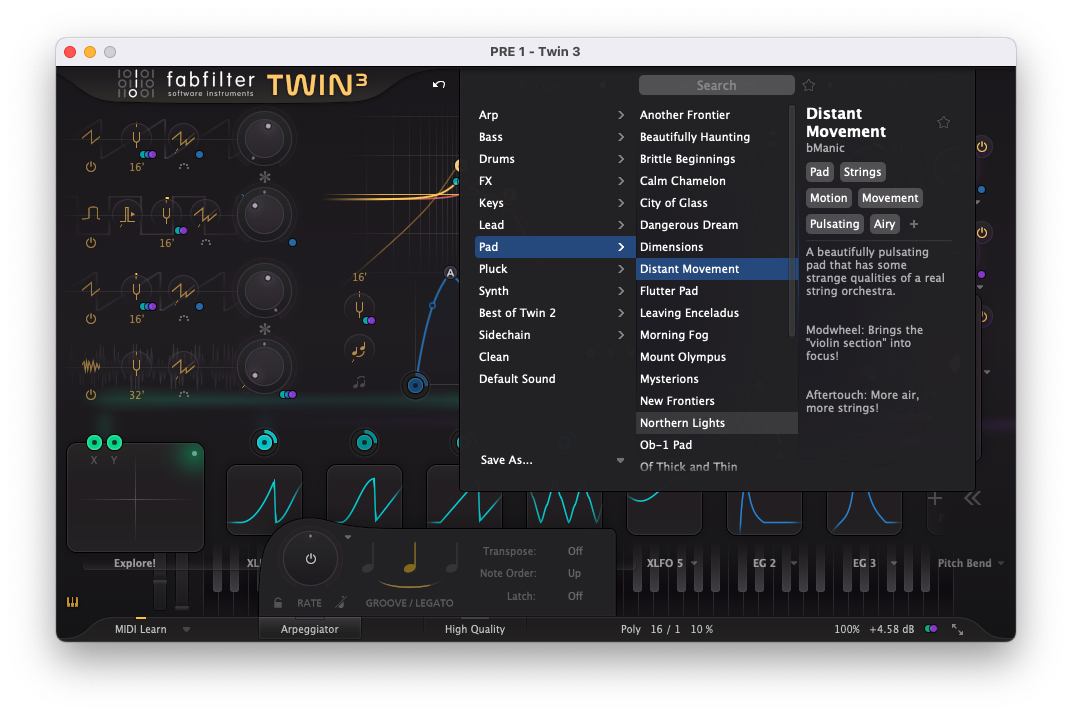
As satisfying as a stroll through the supplied presets proved to be, this is clearly an instrument developed with sound design in mind, and it’s refreshing to see new life and new possibilities spring forth from an analogue-inspired toolkit. It’s a fun and exciting synth to create with. There are plenty of features I’m only going to get to touch on here, like the analogue-style arpeggiator, the option to load custom micro tunings, or the super-friendly patch browser that offers up tags and descriptions from the drop-down menu without insisting you leave the main window. I didn’t even get around to exploring the sidechain input feature, which allows you to trigger sounds from an external input such as a rhythm track.
Is there anything else I’d ask for? I feel a bit greedy, but I would love to see a standalone version, though it plays quite nicely in my go-to standalone plugin wrapper. I’d also love to see poly aftertouch as a mod source one day (standard aftertouch is covered). You could argue that among the types of synths we’re emulating here aftertouch in any form would have been a bit of a luxury – but then so would four oscillators per voice.
Author

Steve Castellano
Steve Castellano is a musician and writer living in Toronto, Canada. He holds a music degree from York University, where his focus was electronic music and composition. He currently records and performs modular electronic music under the name Elettronica Sperimentale.